 "StudyStudyStudy" (jesterjin)
05/07/2015 at 15:50 ē Filed to: 240z, project car
 8
8
 4
4
 "StudyStudyStudy" (jesterjin)
05/07/2015 at 15:50 ē Filed to: 240z, project car |  8 8
|  4 4 |
I had done a cursory glance of the motor mount and once they were off I found them lacking.
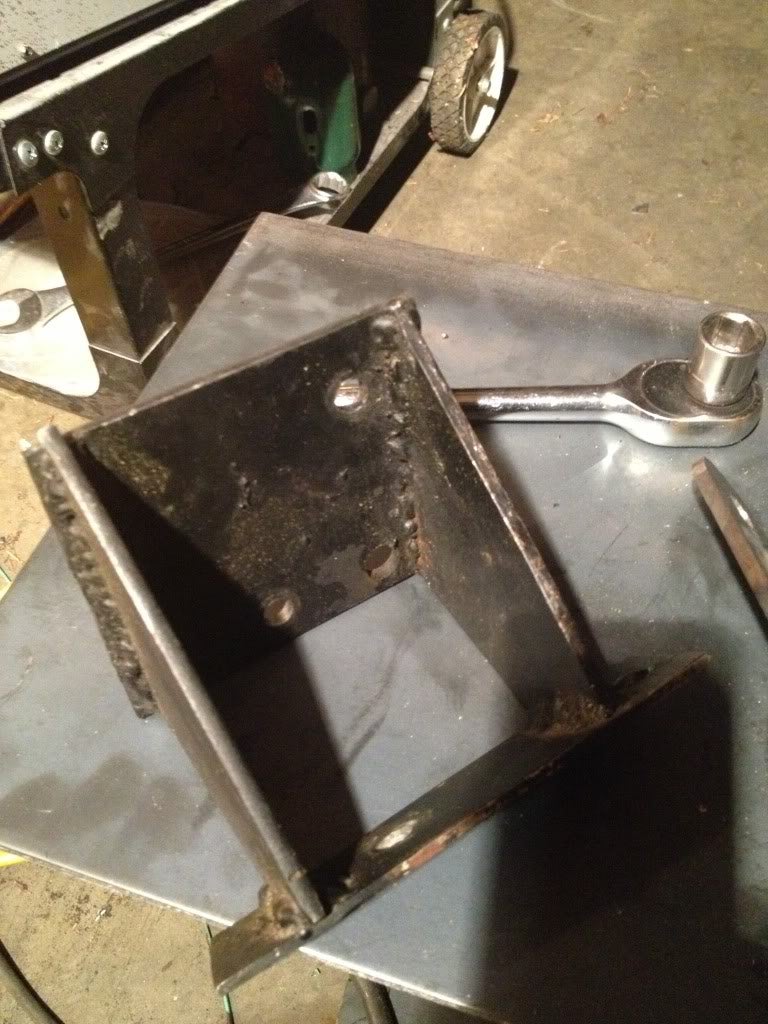
This would not do. Booger welds and clearly visible areas were penetration was lacking, as well as a poor bracing design and bolt holes that barely fit the bolts.
So I ordered up some of my favorite 3/16 steel and started to cut out some pieces.
I first made a jig off the piece in question.
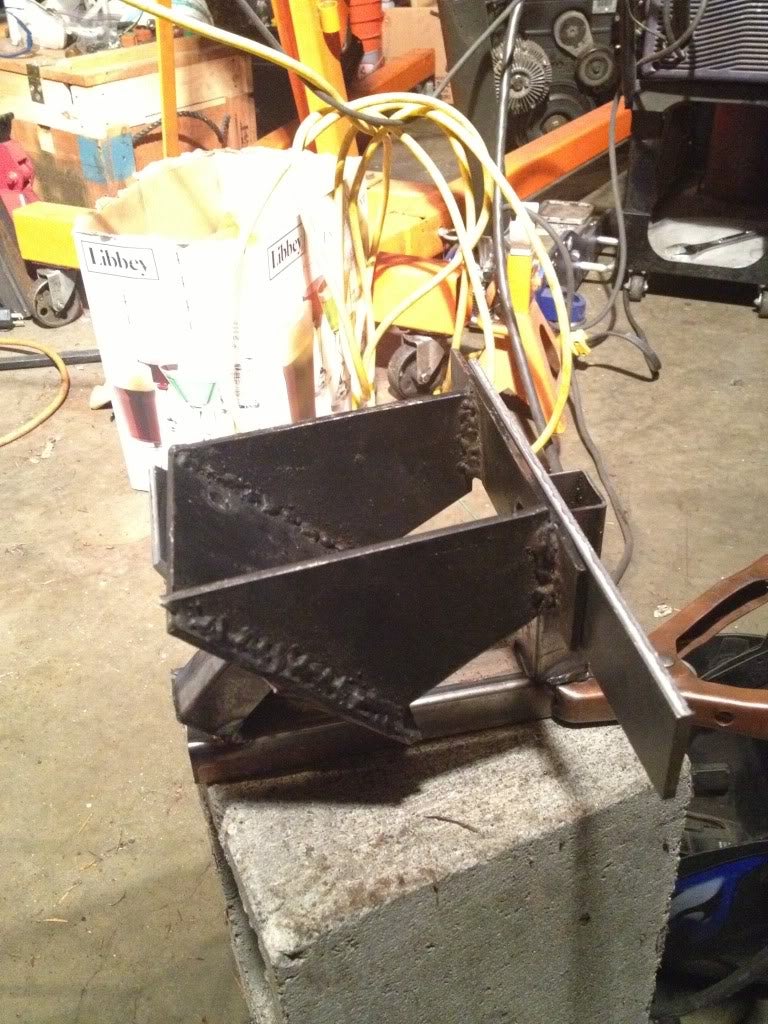
Remove the jig and you are left with a negative impression, similar to laying fiberglass.
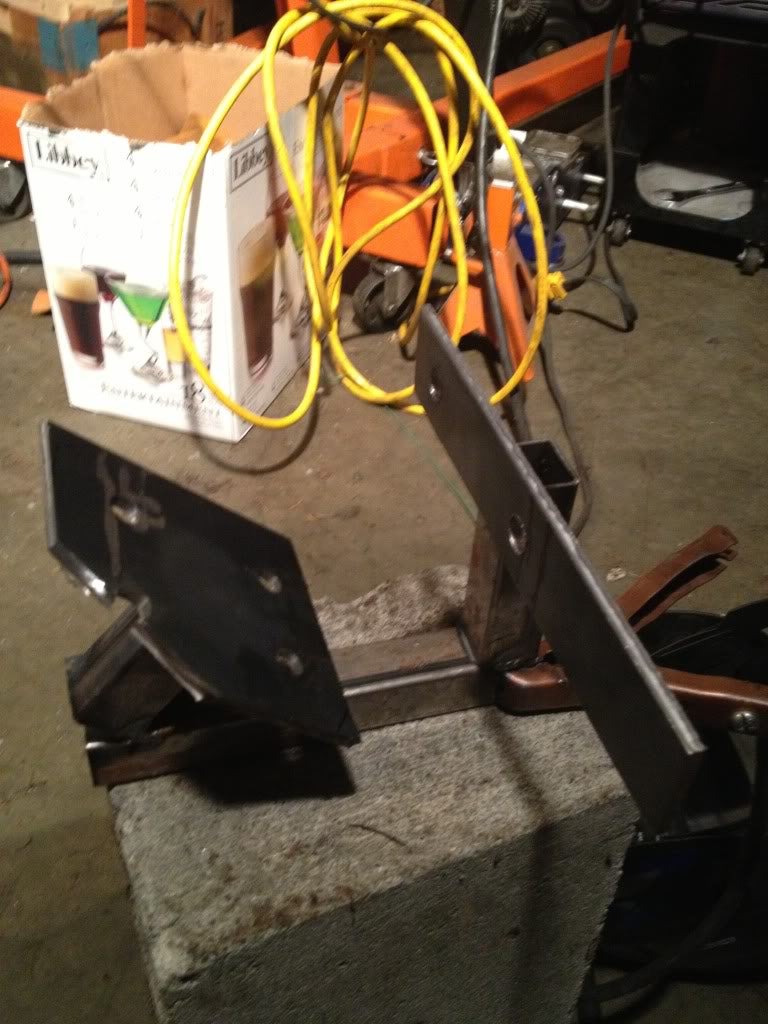
Then I cut out some pieces that were much more shapely with bolt holes precisely drilled.
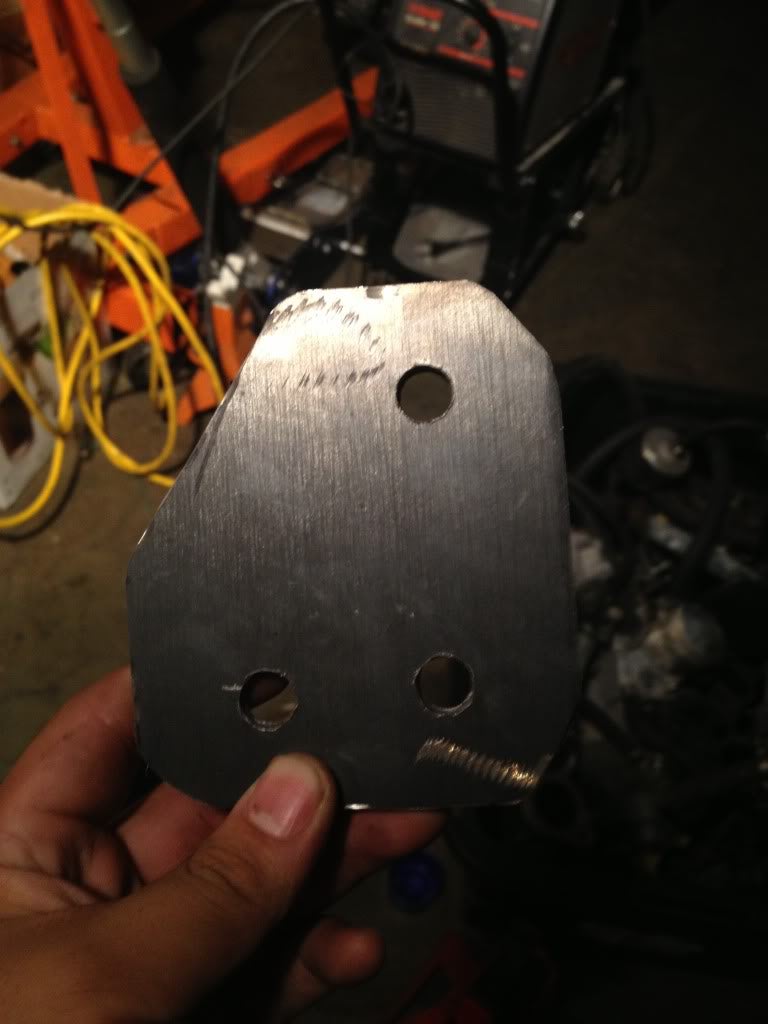
Then bolted it into the jig and made the appropriate cross brace.
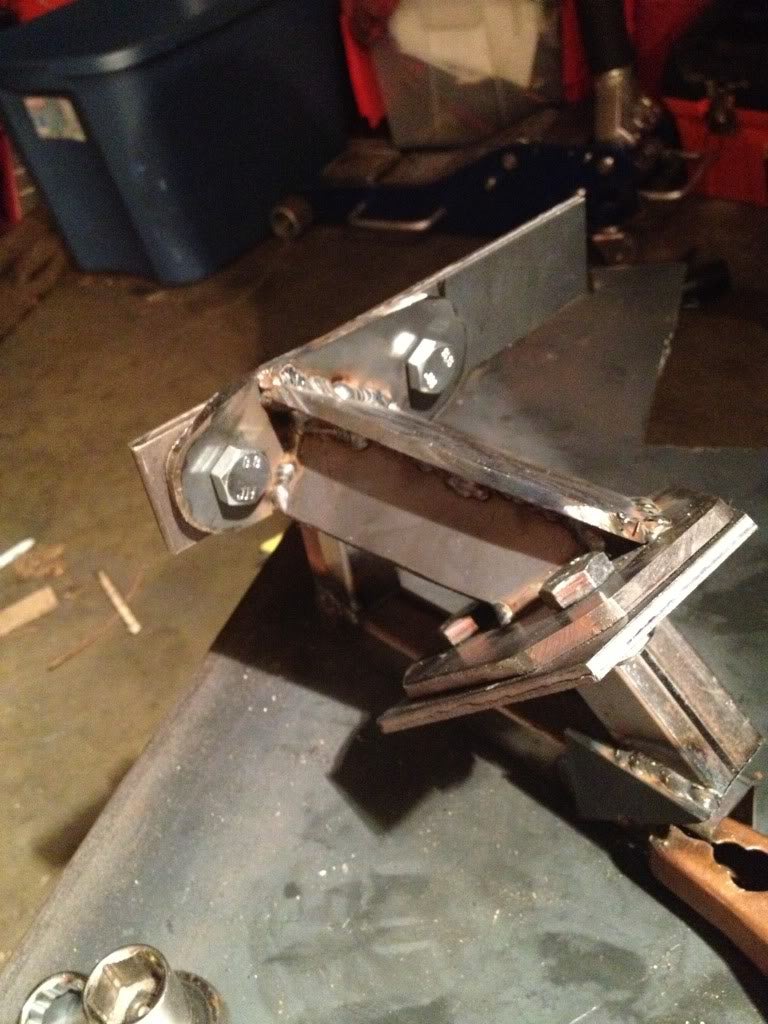
Unbolt the piece and voila, engine mount made to the direct dimensions required, but much better built and with better material.
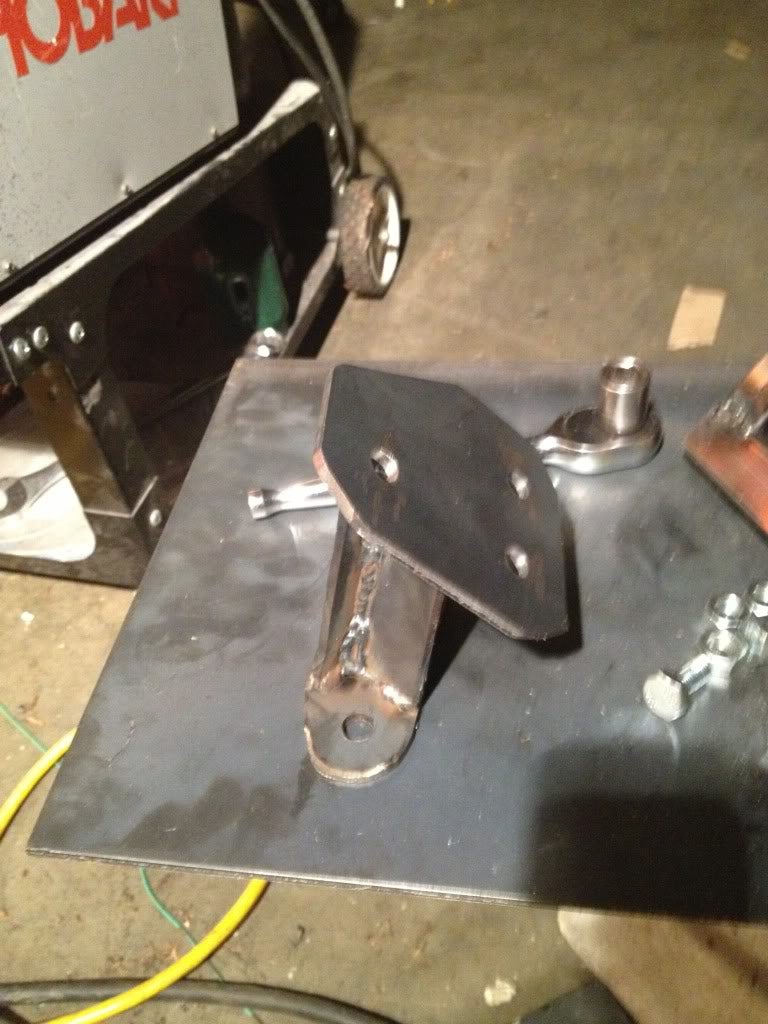
These were bolted onto what used to be I believe the AC compressor bracket and something similar on the other side using existing bolt holes in the engine block.
In the meantime the garage owner had dabbled a bit in powder coating and wanted to powder coat the valve covers and mounts. I didnít protest.
I coated the intake manifold with some paint and bolted on the exhaust manifold, which required helicoilís for all the studs as they tend to strip out due to the heat cycles. That was not an entertaining exercise.
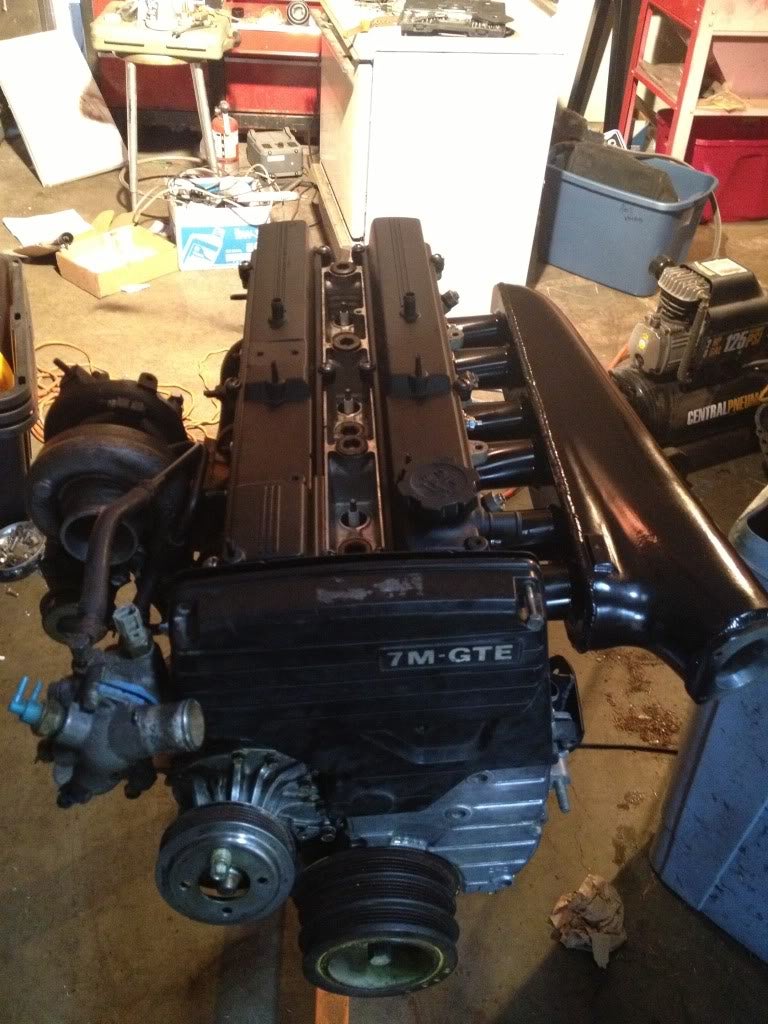
Assembled the transmission I picked up in a craigslist exchange and put both pieces together.
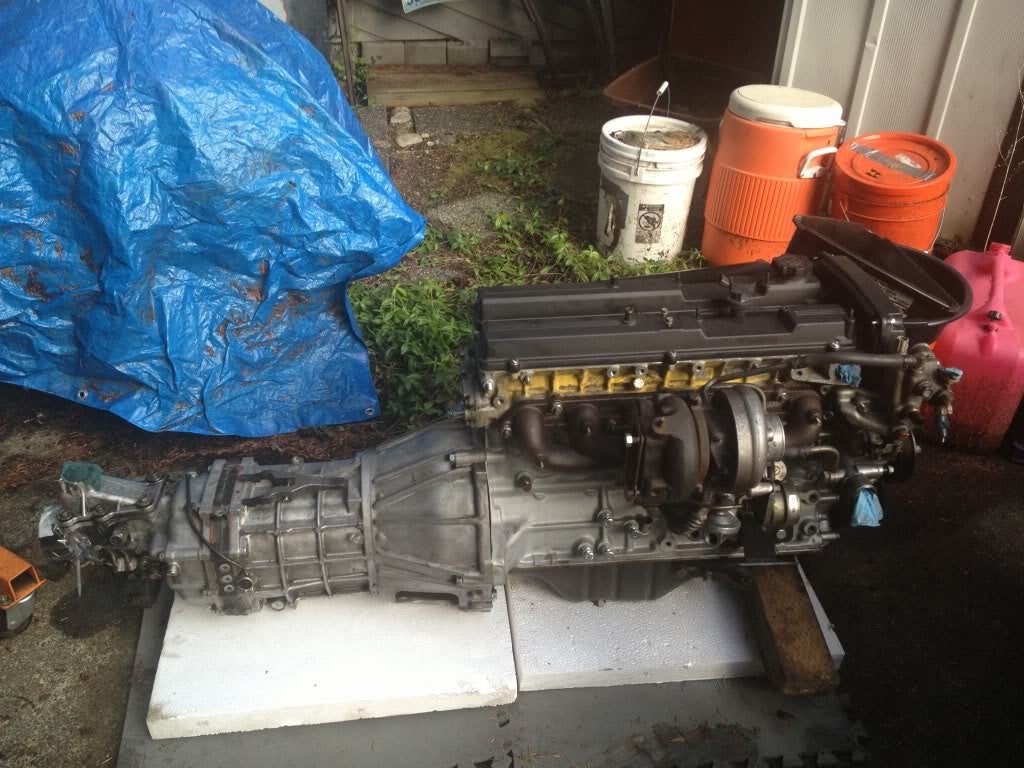
Pulled the engine out of the car.
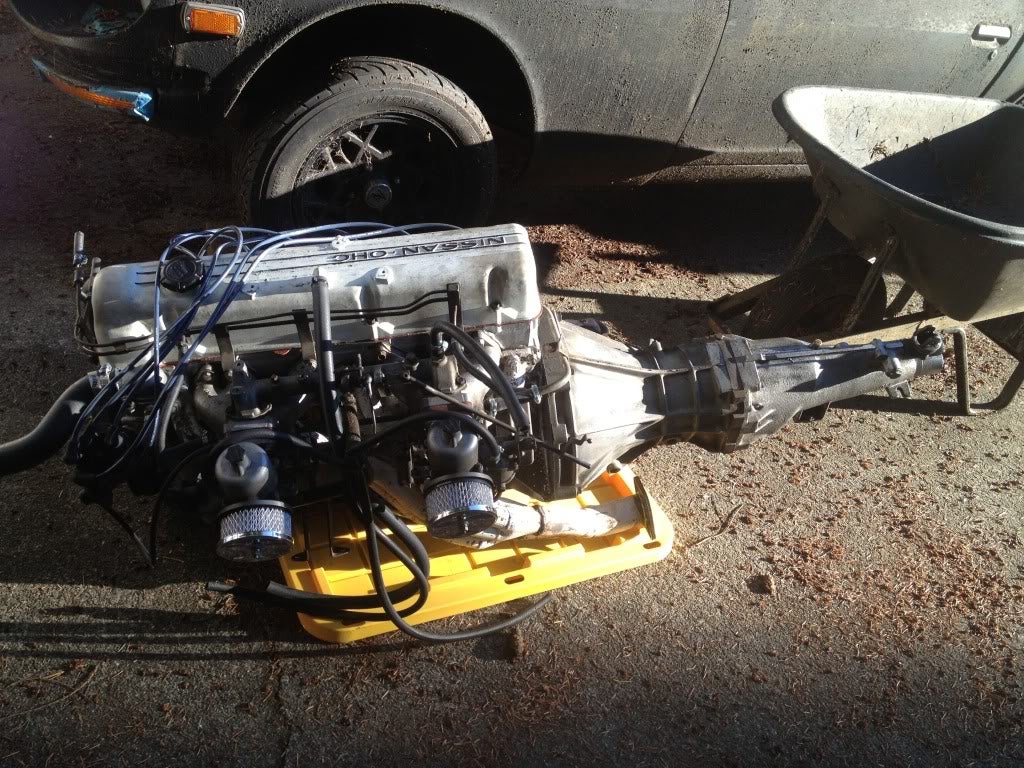
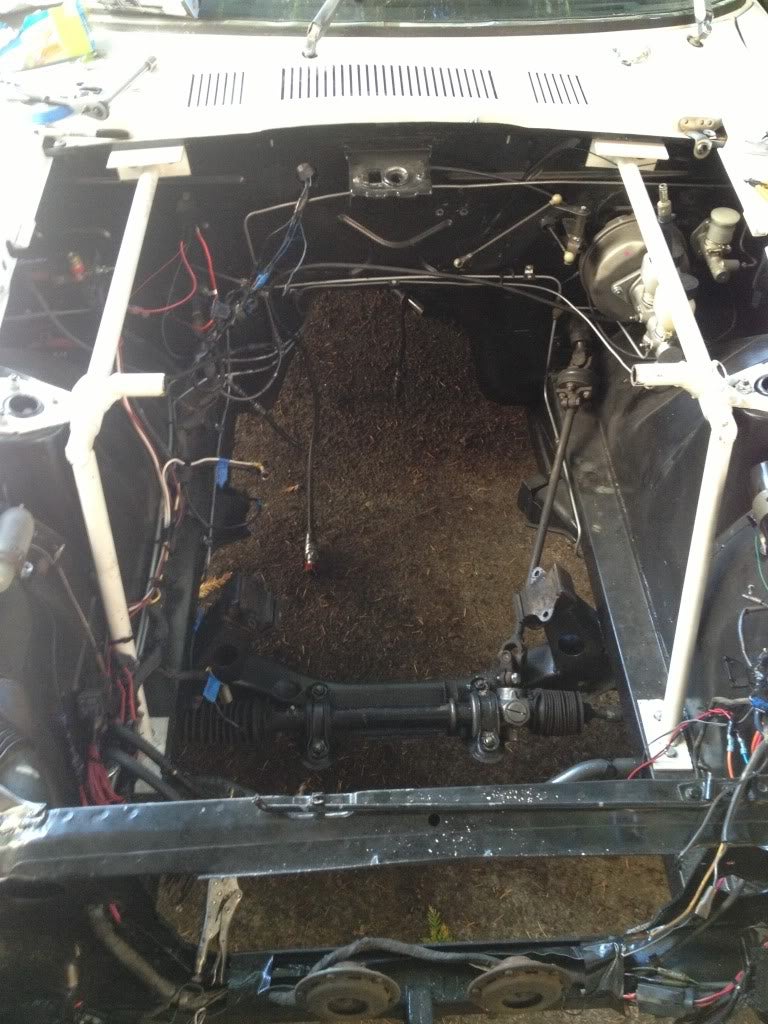
And bolted the new engine in place. Had to wrestle it a bit since apparently the PO had built his engine mounts with the engine hanging without a transmission mount -_-
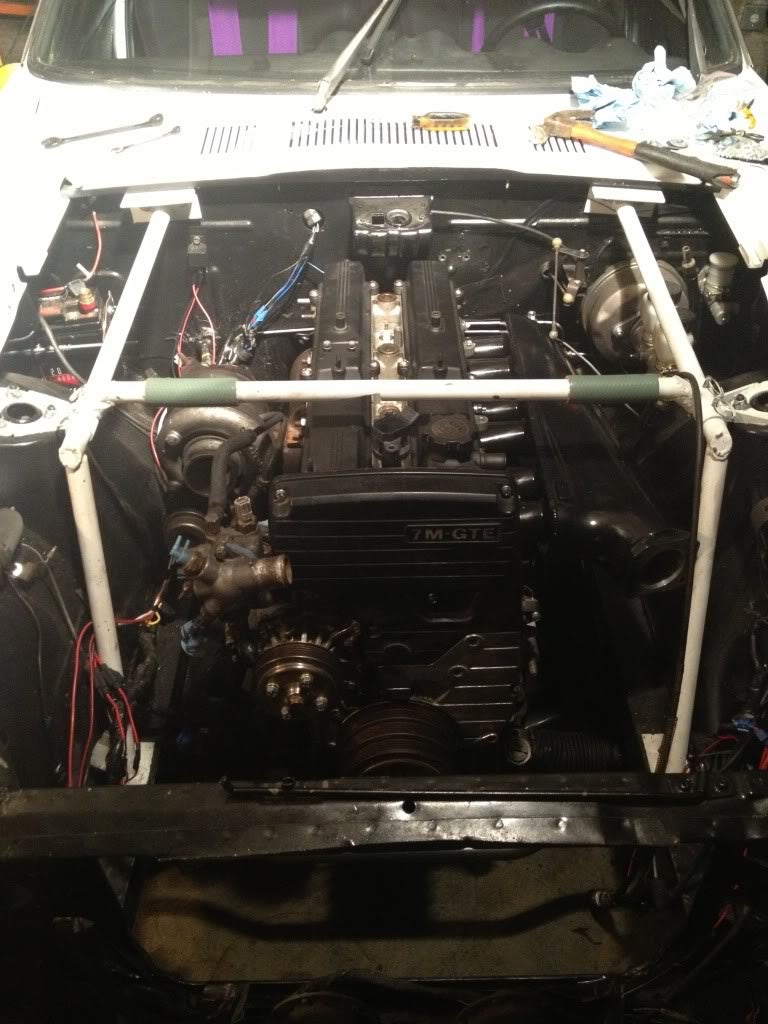
My goal for this was to get it closer to the firewall and make sure it was straight front to back, I had seen a few engine swaps where the engine sat crooked, and that would not do. It ended up being a few degrees canted, but Iím happy to say that it sits straight front to back.
Lessons learned:
If it doesnít make sense logically, then leave the burden of proof on the other party. I noticed the engine mounts were tilted, and asked the PO if they were supposed to be that way, but the PO reassured me they were supposed to be like that. Once the engine was in the car and the mounts were not lining up, he confessed that maybe they werenít...
Having to modify your freshly powder coated engine mounts sucks...
Building engine mounts can be very easy, just be wary of any interference and if you are not solid mounting make sure to account for the distance from the oil pan to the steering rack.
Buy helicoilís from specialty shops, the auto parts store has a larger markup (nearly cost twice as much for the same brand)
The new 240-280z engine mounts have the locating pin located incorrectly, you will need to slot or drill another hole to accommodate.
When putting an engine and transmission together, line them up and hugging is a good idea, one hand on crank pulley the other on tail shaft and just hug while you rotate to line up the spline.
Make sure the handle for the tilt rod is facing forward or it will bind to the motor when it is un tilting.
Make sure the handle is well lubricated for smooth action.
If you need more of a tilt you can put a little weight on the transmission to angle it down and lift the front up.
If you need to mock up the transmission, a sturdy rod with a rope wrapped around the transmission holding it from the top of the transmission shifter hole is an easy method.
Costs:
25 - heli coil
50 - misc bolts
75 - intake spacer/gasket
100 - bar stock and metal plate
- 1350 - selling price of L28 engine, transmission, and carbs all parted out
Subtotal: -1100
Total spent: 15135
!!! UNKNOWN CONTENT TYPE !!!
!!! UNKNOWN CONTENT TYPE !!!
 TheBloody, Oppositelock lives on in our shitposts.
> StudyStudyStudy
05/07/2015 at 16:06 |
|
You should tag these posts so that if someone wantís to start from the beginning they can find the others easily.
 StoneCold
> StudyStudyStudy
05/07/2015 at 16:40 |
|
O_O
Note to self, do not restore Datsuns. Iím glad youíre doing this and learning along the way, but it is not cost effective it seems. XD
This is the argument for restoring popular old cars. Iím only ~6 grand into my Ď70 Mustang, including purchase price, complete engine rebuild, frame pieces, and flooring for passenger area and trunk.
The Ď66 Mustang convertible had only about 3 grand for just about every part you you can think of, including paint (which I should be applying next week). Only 15% of that car is original at this point.
But isnít it fun doing everything yourself?
:)
 StudyStudyStudy
> TheBloody, Oppositelock lives on in our shitposts.
05/07/2015 at 18:01 |
|
Sound advice Iíll try and figure out how to do so.
 StudyStudyStudy
> StoneCold
05/07/2015 at 18:05 |
|
Fun yes, expensive definitely.
It kind of is surprising how things add up, a lot of people tend to forget the smaller pieces along the way. I think if I did it again I could finish for a lot less with a lot less going back and forth.
Lessons learned right?
I did have a forum member state he built his car for toyota powered car for 6k pushing 400hp, I was doubtful, but his numbers worked out, got lucky with the shell, got the engine for a steal, took suspension from another car etc. Lots of savings to be had that I never knew about.